Get creative! We have been programmed to do things the fast, easy, costly capitalist way by simply buying the things we need and don’t need. Well, how about taking some time out and having fun and letting those creative juices flow? One way to have fun and save money is to create your own equipment… I mean who needs to buy things when you could make them just as good yourself?
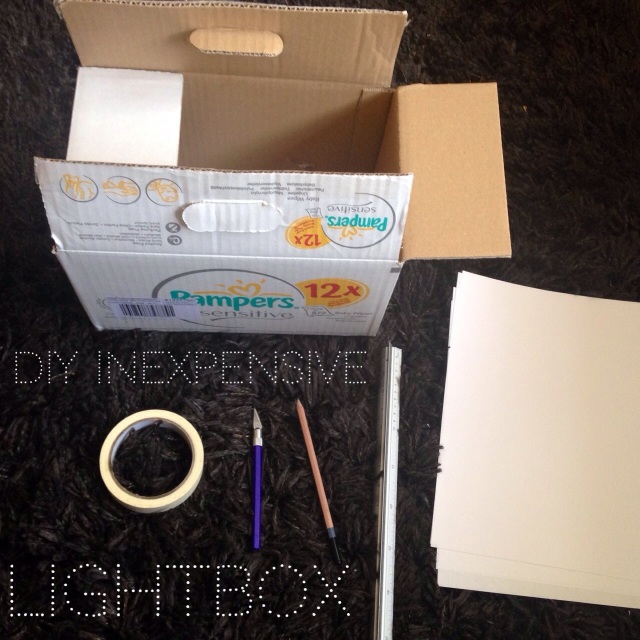
Here I show you how to make an inexpensive and impressive Lightbox for product photography. Whether you’re a online seller or interested in Macro photography, good lighting is crucial in taking a great clear shot. However being able to properly light an object to highlight it’s true attributes can often be pretty challenging. I know from first hand experience that lighting equipment could be rather expensive. Why spend hundreds of pounds on lighting equipment when all you need is some Sellotape, an empty used box, a ruler, a pencil and a razor blade or scissors. Frugality in it’s greatest form, utilizing household items.
Cost: FREE + creativity
Step 1: Choosing the right box size
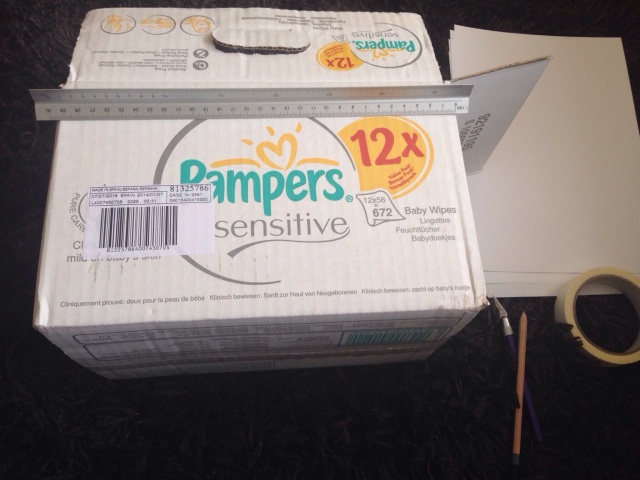
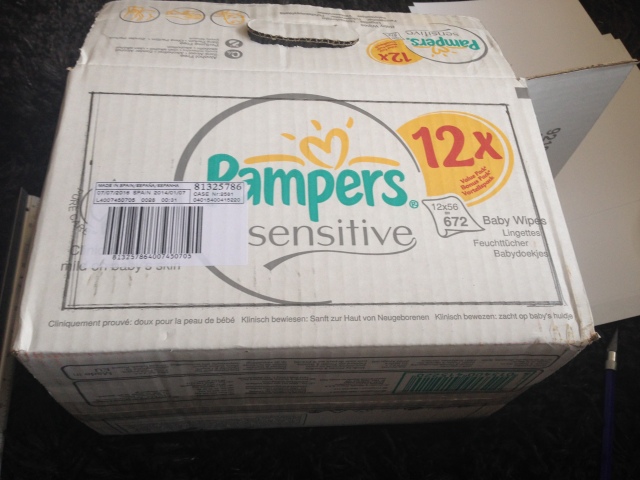
First things first, I had used an old Pampers baby wipes box as it was easy accessible (my household goes through many of these boxes). This is a fairly medium sized box, but I would recommend a larger sized box as the size of the box should be appropriate for the size of the objects to be photographed.
Step 2 : Creating the window
Creating a window using your straight edge/ruler would introduce light into the box, so the smaller the window the less light and the larger the window the more light. Remember to cut the windows in relation to the size of your box, I had personally cut my windows an inch into the box to allow the most light coverage.
Step 3: Continuing to create the Lightbox structure
DISCLAIMER : I had forgotten to include a base and cut windows into all sides of the box, by doing so structure of the Light box becomes very fragile and flimsy. Always remember to leave a side for the base.
Step 4: Covering the windows
(I had strengthened the box using masking tape, as the box was not as strong as I had anticipated)
As I had A LOT of plain white paper in my printer I experimented by using it paper in opposed to muslin cloth. This kept the tutorial ‘housebound’ for easy access as I had used plain A4 paper for my diffuse. The white paper is excellent enough to reflect light, and penetrable enough to let light in.
I had originally created the light-box with the intentions of using natural daylight only (hence the size and the amount of windows) but any form of lighting can be used. E.g flashbulbs, photo lights, ring flashes or standard desk lamps.
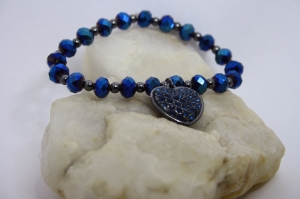
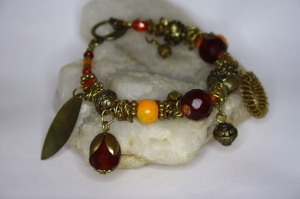
Here are a few test shots showing the results of the light-box created, none of these photos have been manipulated by retouching. The light-box was placed on an open window ledge using natural daylight.
VS Ring flash
If you enjoyed this and would like to see more follow me!
Mimi x

